Automated Inspection of Marked Characters for Color and Correctness Using Imaging Colorimetry
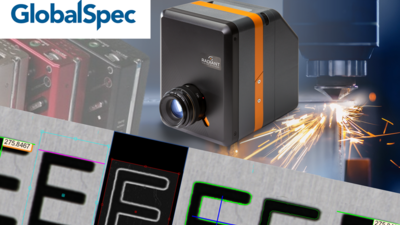
For many electronics products sold today, necessary markings such as symbols, text, and numbers are applied to components during the manufacturing and assembly process. Components can be made of metal, plastic, glass, ceramic or other materials and markings are applied using laser etching, printing, or similar methods. Product makers must perform product text validation; ensure that any markings are free of defects, meet quality and brand standards, comply with trade regulations such as CE and RoHS, and supporting part traceability (e.g., confirming serial numbers).
Typical machine-vision inspection systems can assess text completeness and accuracy, but they cannot measure accurate color or contrast. Spectrometers provide highly accurate color measurement, but only for one spot at a time and they cannot recognize or assess characters or symbols. These limitations mean manufacturers may have to use two or more different inspection systems, increasing cost and production time.
A new inspection approach uses high-resolution imaging colorimeters combined with image analysis tools to perform fast, automated measurement of text and symbol shape (inclusions and exclusions), dimensions, color, and contrast. Beyond quality control, this methodology supports process control and line-to-line and location-to-location agreement.
In this webinar, Hubert Kostal, Ph.D., Radiant's VP of Business Development, disscusses:
- The challenges of detecting defects and ensuring the quality and legibility of markings on product surfaces such as metal, plastic, glass and ceramic
- The full range of criteria that manufacturers need to assess, including: text/symbol shape (inclusions and exclusions), dimensions, placement/orientation, color, and contrast.
- Various methods used for quality inspection of markings on product surfaces, such as machine vision cameras and spectrometers, and their advantages and drawbacks.
- How the science of imaging colorimetry can be applied to perform defect detection and color inspection of markings with greater precision, accuracy and efficiency.
